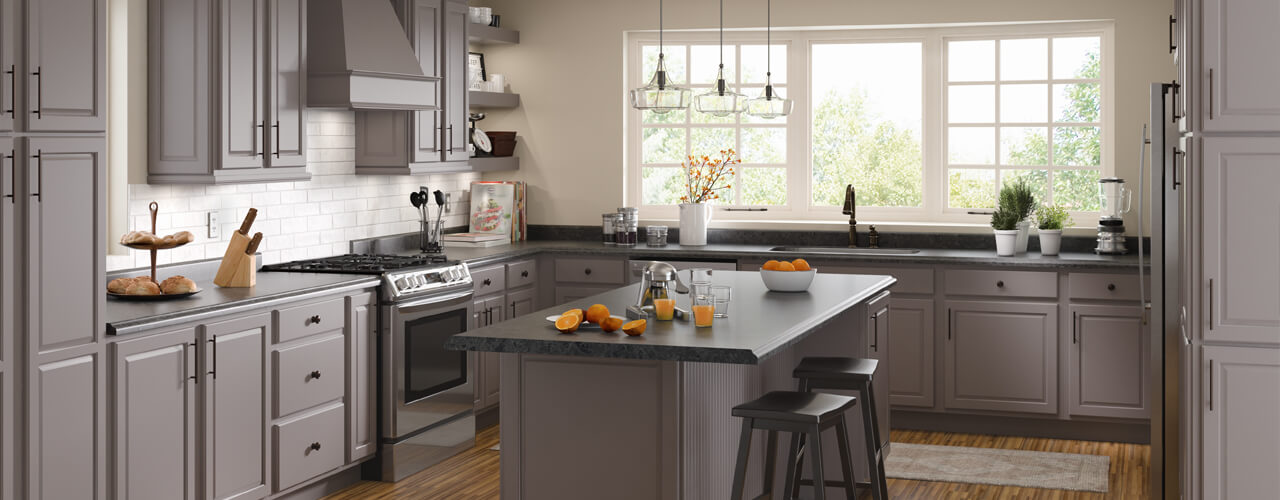
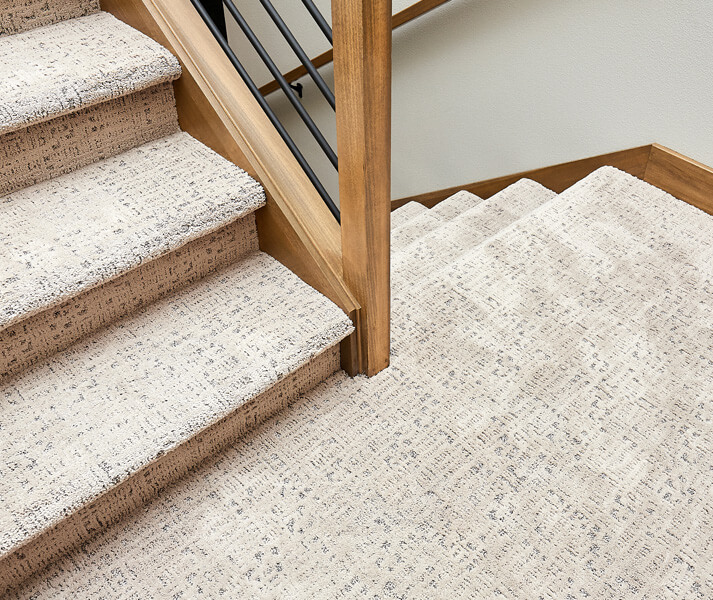
Add Carpet
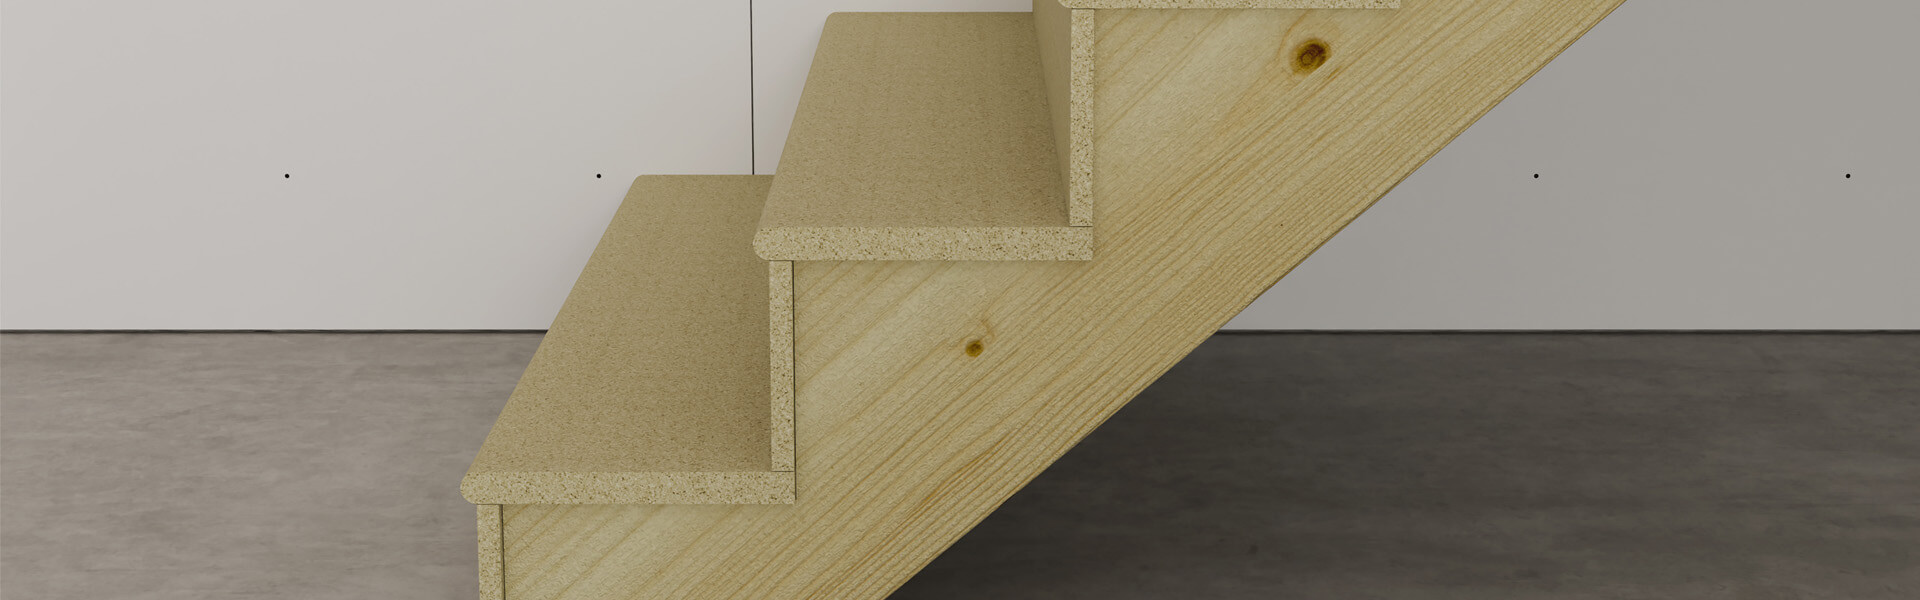
DakotaTM stair treads and risers are an economical addition to your stair system. Especially useful for those who are carpeting or painting their stairs, or for unfinished spaces like basements and garages. Extra sturdy at 1-1/8" thick, just pick your width, easily cut to size, and install.
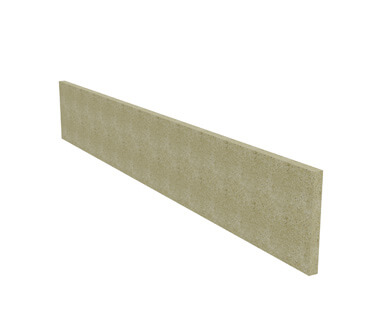
Stair Treads
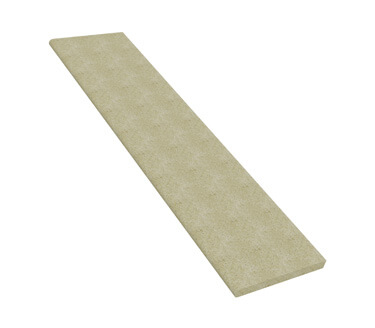
Thickness: 1-1/8"
Depth: 11-1/4"
Lengths: 42", 48", 96"
Stair Risers
Thickness: 3/4"
Depth: 7-1/2"
Lengths: 42", 48"
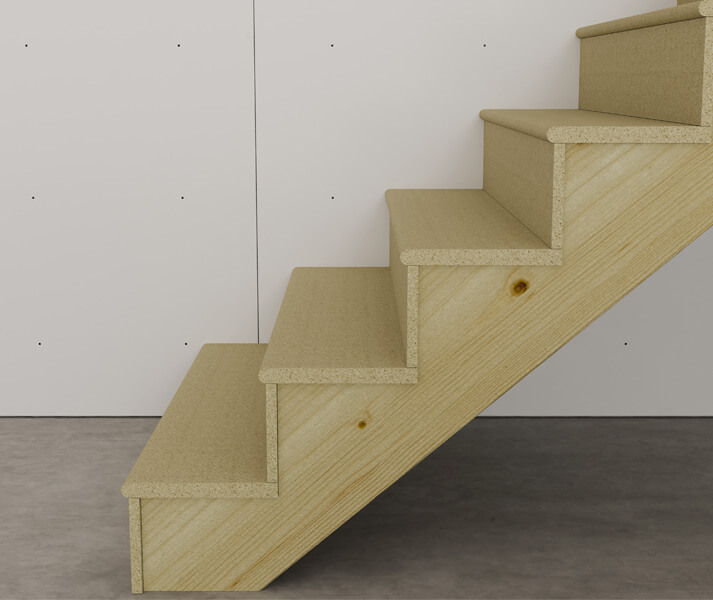
It's best to use particle board stair treads in your home when covering them with carpet, or in unfinished spaces like basements or garages where they can remain unfinished or get painted.
Yes, if a tread becomes damaged it can easily be replaced. If the existing tread was installed with nails, you can slowly pry the tread from the stringer (there may be glue, so pry with caution). If the tread was installed with screws, you can remove those with a drill or cut them with a reciprocating saw.
Our treads and risers are easily cut to width with a miter saw or circular saw. Measure your staircase at the top, middle, and bottom to ensure the correct size. Start with a width larger than your staircase (42", 48", or 96"), and carefully cut each piece to length with a high tooth count blade (60-80 teeth). Ensure your cuts are square and test fit before installing.
Once you've cut your treads and risers, add a bead of construction adhesive to the top of the stringer before placing the tread. Take note of the stringer locations and secure it by driving a 3-inch finishing nail or wood screw through the top of the tread into the stringer. Ensure the fasteners are flush by using a nail set or countersinking the screws before installation. Repeat for the riser and continue to the next step. For more information read our blog.